Nikon Interactive Digital Microscope Lab

Guidelines for Student Practice
1) Switch on the computer
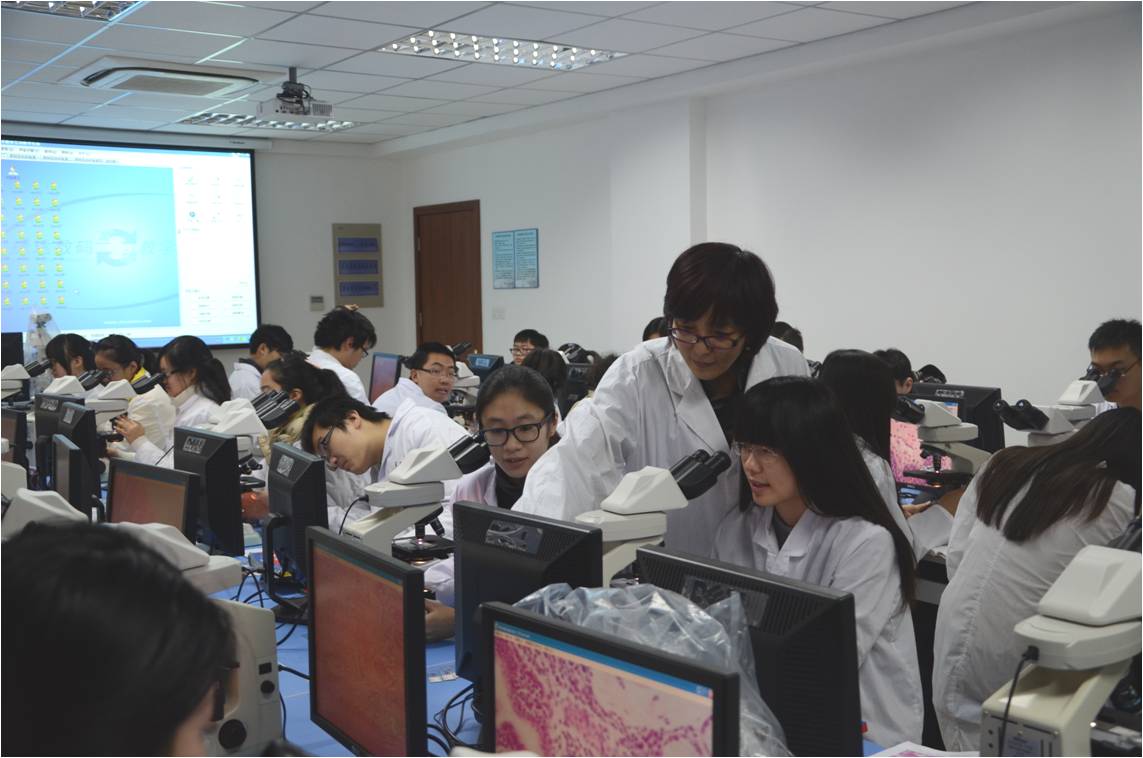
2) Understand the functions of the interactive system
a) Menu Display: Allows access to “Morphological Analysis” which analyses morphological characteristics of images
b) Electronic Hands-Up: Informs teachers about students’ enquires
c) Assignment Submission: Allows browsing and selection of documents
d) Students’ Discussion: Allows choice of students for discussion via writing or talking
e) Video Recording: Allows recording of short videos for future playbacks
f) Image Collection: Allows collection of images under the microscope
g) Any images collected are saved under the folder “Image Collection”.
h) All assignments are placed in the folder “Assignment Received”
3) Switch off the computer after practical
4) Note: Refrain from using portable storage devices to avoid virus infection among computers. Take care of our precious devices and avoid alterations to computer resolution.
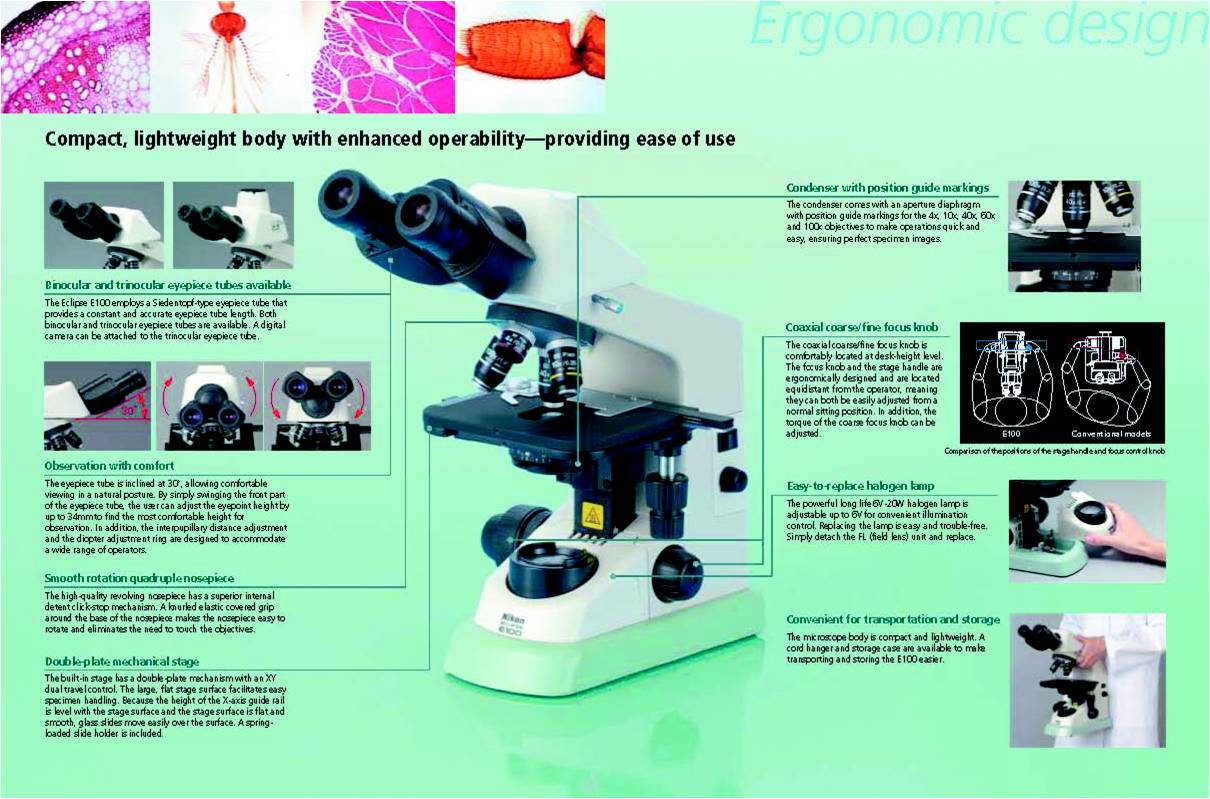
5) Turn on the microscope (Figure 1-2) and adjust the distance between your pupils. Adjust the light intensity of the microscope and start your observation using lens with 4 × magnification power.
6) To observe a slide, put it on the microscope and adjust your desired field. Then, turn on the collection program and modulate the distance between your pupils until a clear image is obtained. After that, change the lens according to your preference and adjust the focus until a clear image is seen. Finally, take pictures of clear images for future use in analysis or research.

Important Notes:
1. Make sure you understand the structure and usage of a microscope. Do not disassemble the components of the microscope. If dirt is found on the objective lenses or the eyepiece, clean it with lens cleaning tissues instead of using your hand to remove or your mouth to blow off the dirt.
2. When observing a slide under microscope, start from an objective lens with a low magnification before you switch to that with a high magnification. While the former provides a broad and clear view which aids with observation of the general characteristics of a specimen, the latter allows intricate observation. Pay attention to altering the height of the condenser and size of the aperture in order to optimaize the brightness and clarity of your microscope.
3. Abide to the laboratory regulations and take care of all apparatus. Keep the laboratory clean and refrain from raising your voice.
4. Everyone will be provided with a microscope and a box of slides. Refrain from exchanging these items with your classmates. After use, lock the box in your drawer. When using a slide, do not leave the box open to avoid prolong exposure of other slides to sunlight or fluorescent lamp to prevent bleaching or fading of slides. During observation, make sure the slide is placed upwards. Each student should follow strictly the Regulations of Histological Slide Usage and Management. Take good care of your microscope and slides which are scarce in supply.